こんばんは〜
弊社ブログに辿り着いていただきありがとうございます!
株式会社メモリアインクのいちのです
この記事を読んでわかること
- GridViewの4つのコンストラクタの違いと使い方
- GridViewを使用する際の具体的なサンプルコード
開発環境
- Dart 3.0.0
- Flutter 3.10.0
GridViewとは?
GridViewはFlutterでグリッド(格子)形式でウィジェットを表示するためのウィジェットです。画像ギャラリー、商品リストなど、複数の要素を整理して表示する際に便利です。GridViewにはいくつかのコンストラクタがあり、異なるシナリオに対応します。
GridView.count
概要
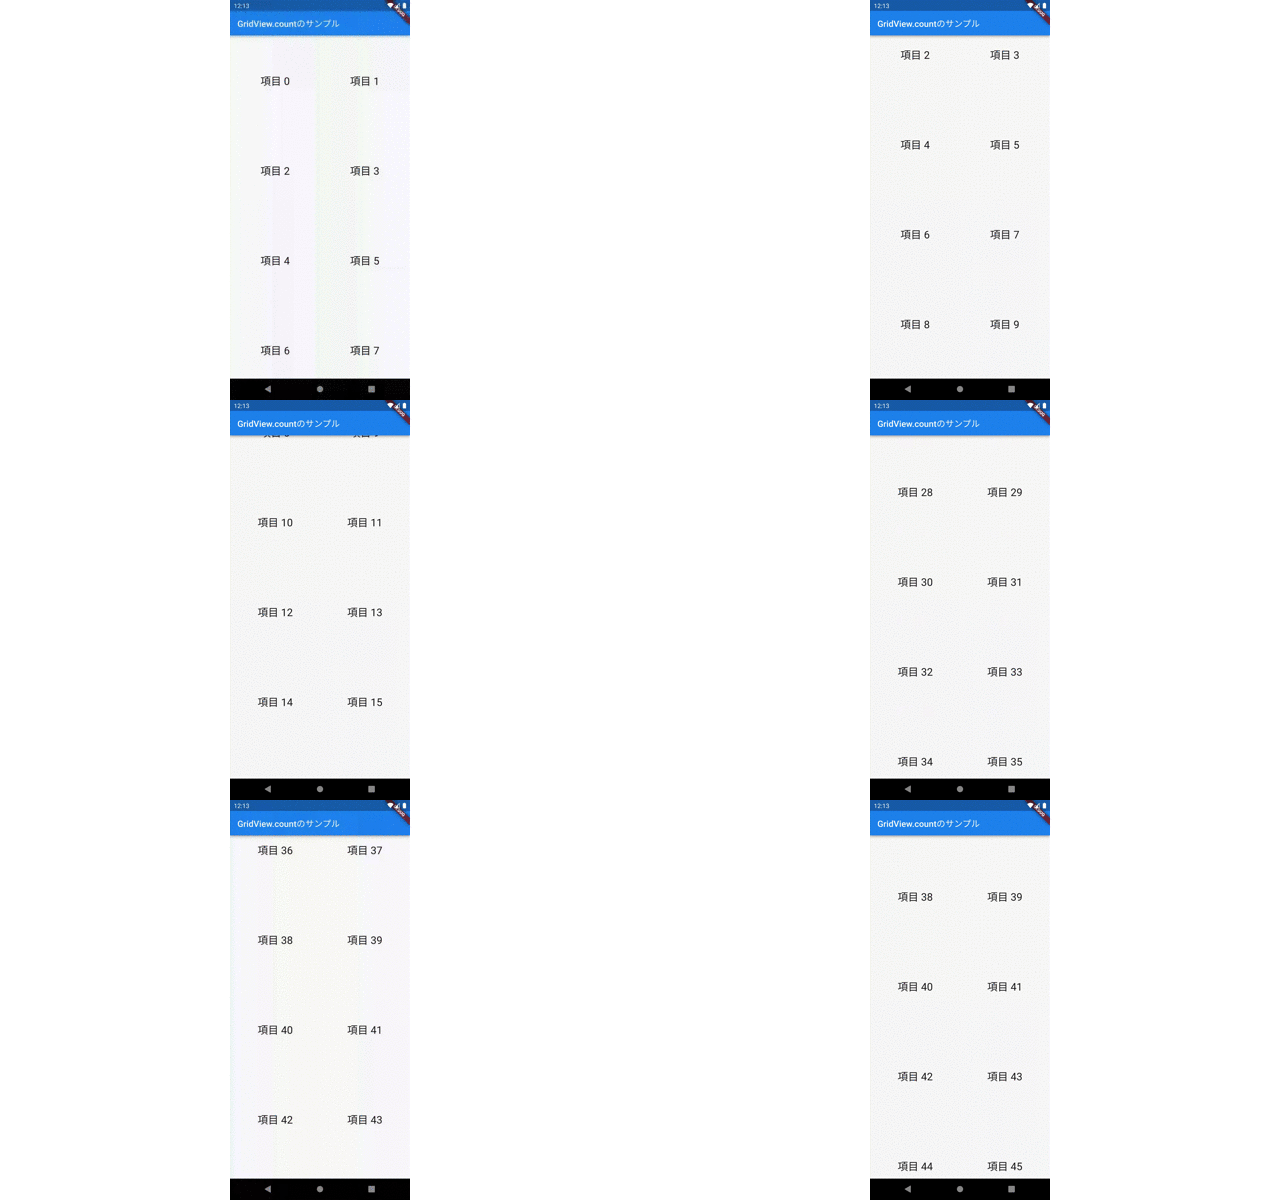
GridView.countコンストラクタを使用すると、グリッド内の要素数を指定して、均等に配置することができます。
サンプルコード
import 'package:flutter/material.dart';

void main() {
  runApp(MyApp());
}

class MyApp extends StatelessWidget {
  @override
  Widget build(BuildContext context) {
    return MaterialApp(
      home: Scaffold(
        appBar: AppBar(
          title: Text('GridView.countのサンプル'),
        ),
        body: GridView.count(
          crossAxisCount: 2, // 1行に表示する項目の数
          children: List.generate(100, (index) {
            return Center(
              child: Text(
                '項目 $index',
                style: Theme.of(context).textTheme.headline5,
              ),
            );
          }),
        ),
      ),
    );
  }
}
サンプルコードの解説
- 4行目: アプリケーションの起点。
- 10行目: マテリアルデザインのアプリケーションを作成。
- 12-26行目: タイトルバーとGridViewを含むUIを定義。
- 15-25行目:
GridView.countを使用してグリッドを作成。crossAxisCountは1行に表示するアイテムの数を指定。 - 17-24行目: 100個のテキストウィジェットを生成し、それぞれ中央に配置。
動作確認
それでは、動作を確認してみましょ〜


GridView.extent
概要
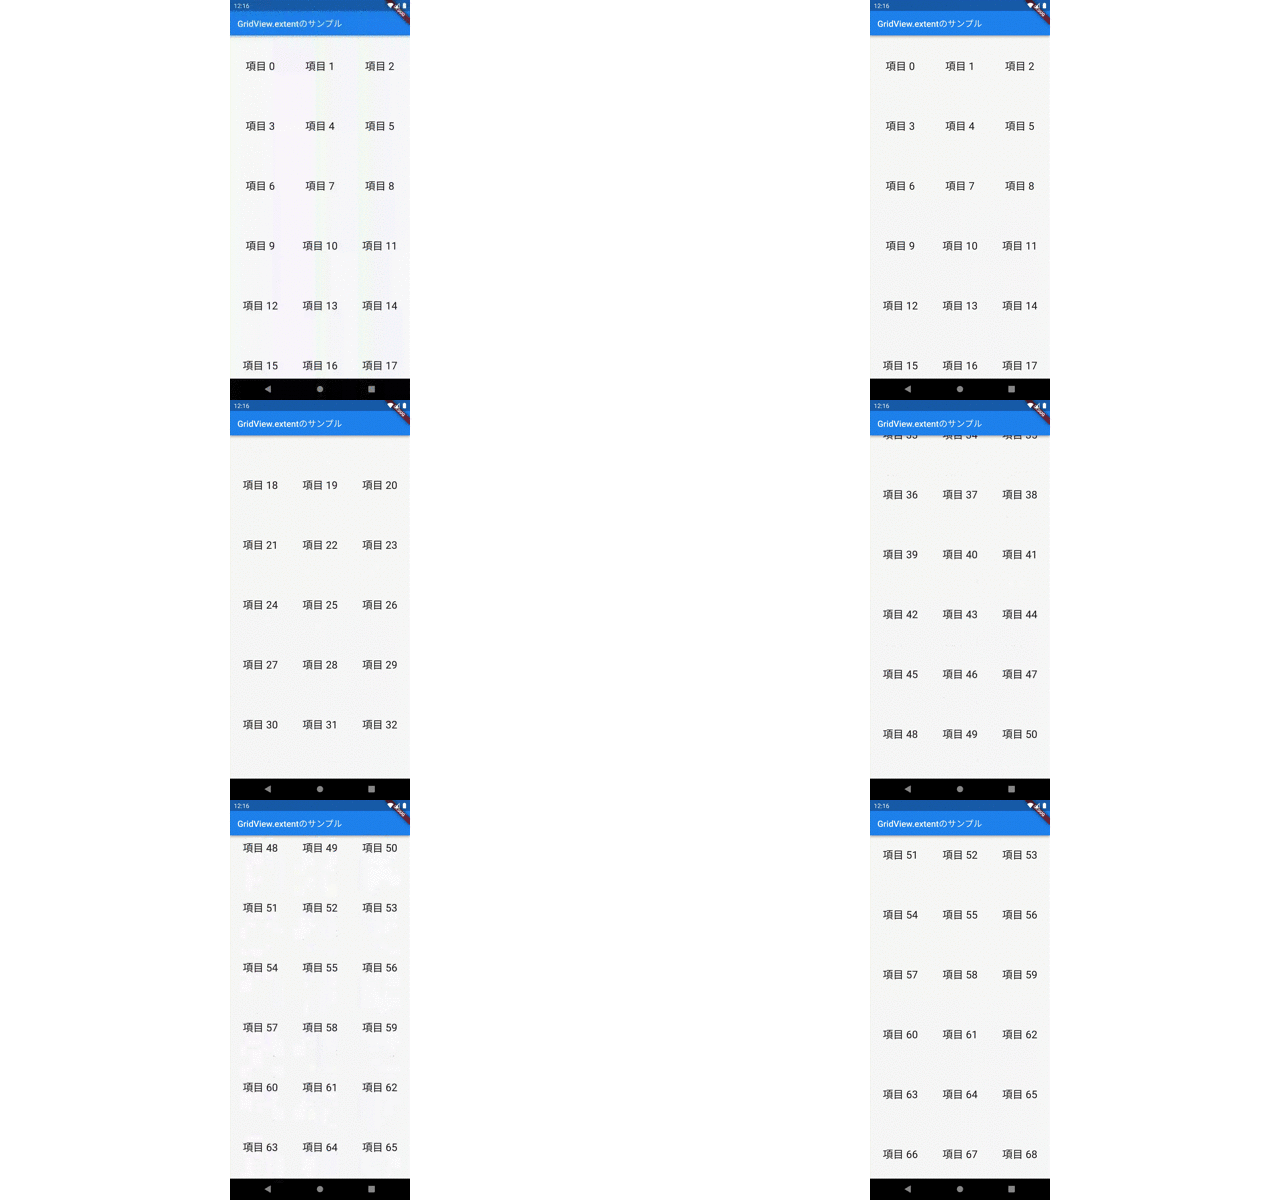
GridView.extentコンストラクタは、各項目の最大幅を指定して、それに基づいてアイテム数を自動で調整します。
サンプルコード
import 'package:flutter/material.dart';

void main() {
  runApp(MyApp());
}

class MyApp extends StatelessWidget {
  @override
  Widget build(BuildContext context) {
    return MaterialApp(
      home: Scaffold(
        appBar: AppBar(
          title: Text('GridView.extentのサンプル'),
        ),
        body: GridView.extent(
          maxCrossAxisExtent: 200, // 最大項目幅
          children: List.generate(100, (index) {
            return Center(
              child: Text(
                '項目 $index',
                style: Theme.of(context).textTheme.headline5,
              ),
            );
          }),
        ),
      ),
    );
  }
}
サンプルコードの解説
- 4行目: アプリケーションの起点。
- 10行目: マテリアルデザインのアプリケーションを作成。
- 12-26行目: タイトルバーとGridViewを含むUIを定義。
- 15-25行目:
GridView.extentを使用してグリッドを作成。maxCrossAxisExtentはアイテムの最大幅を指定。 - 17-24行目: 100個のテキストウィジェットを生成し、それぞれ中央に配置。
動作確認
それでは、動作を確認してみましょ〜


GridView.builder
概要
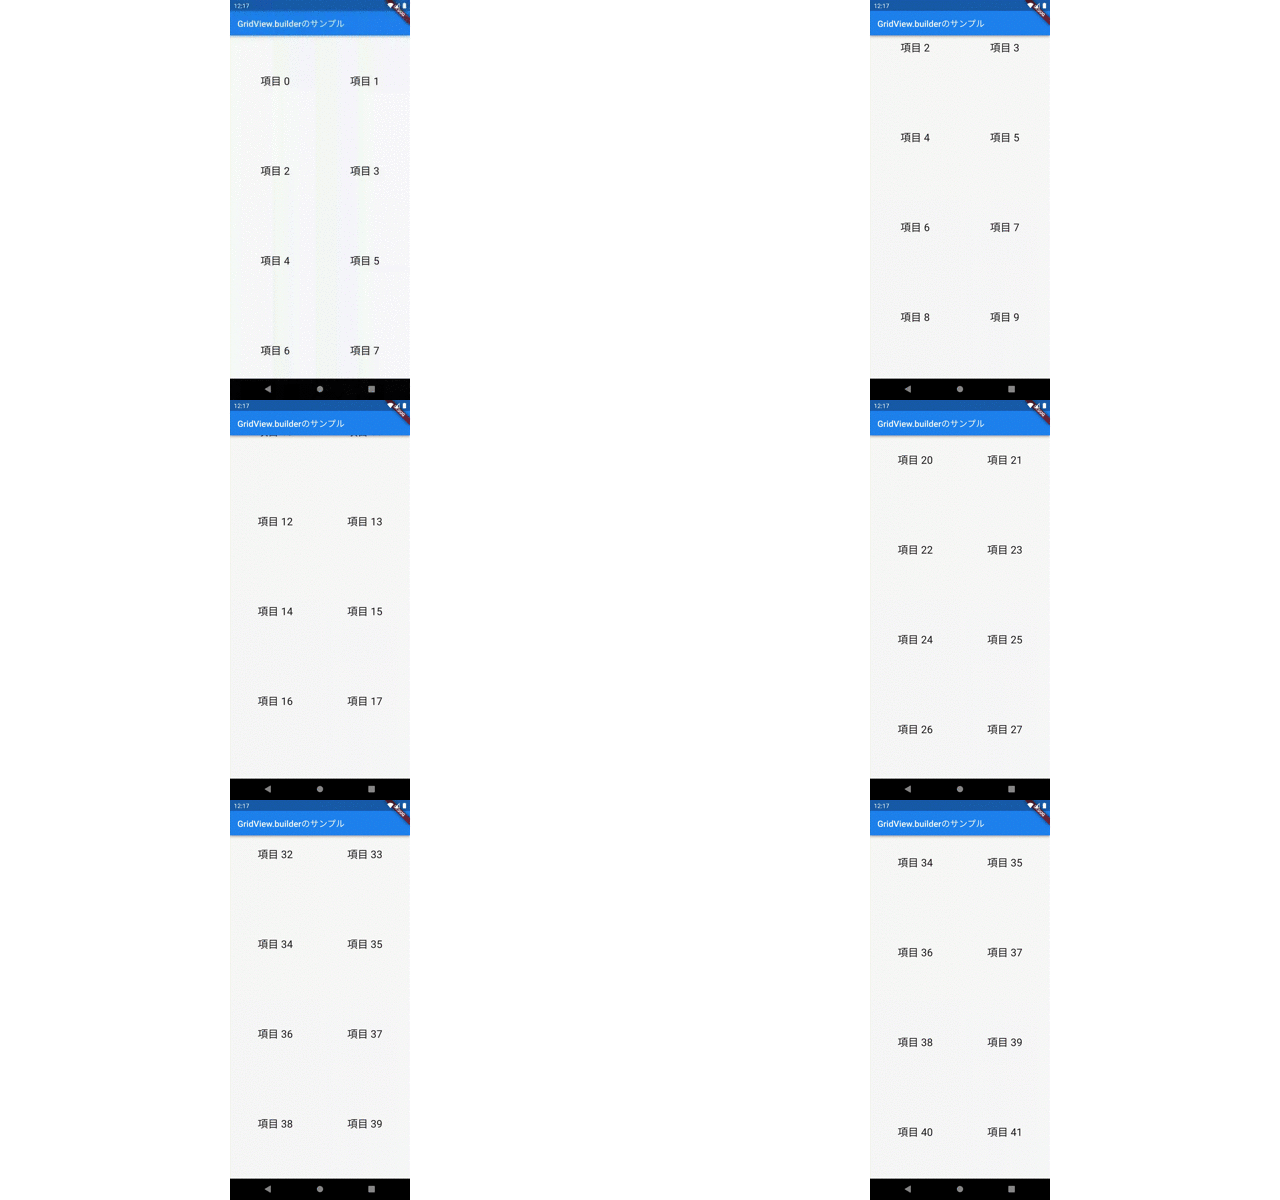
GridView.builderコンストラクタは、大量のアイテムを持つグリッドを効率的に構築するために使用します。必要に応じてアイテムを動的に生成します。
サンプルコード
import 'package:flutter/material.dart';

void main() {
  runApp(MyApp());
}

class MyApp extends StatelessWidget {
  @override
  Widget build(BuildContext context) {
    return MaterialApp(
      home: Scaffold(
        appBar: AppBar(
          title: Text('GridView.builderのサンプル'),
        ),
        body: GridView.builder(
          gridDelegate: SliverGridDelegateWithFixedCrossAxisCount(
            crossAxisCount: 2, // 1行に表示するアイテムの数
          ),
          itemBuilder: (BuildContext context, int index) {
            return Center(
              child: Text(
                '項目 $index',
                style: Theme.of(context).textTheme.headline5,
              ),
            );
          },
        ),
      ),
    );
  }
}
サンプルコードの解説
- 4行目: アプリケーションの起点。
- 10行目: マテリアルデザインのアプリケーションを作成。
- 12-26行目: タイトルバーとGridView.builderを含むUIを定義。
- 17行目:
SliverGridDelegateWithFixedCrossAxisCountで1行あたりのアイテム数を指定。 - 19-26行目: アイテムビルダーを使用して、必要に応じてテキストウィジェットを動的に生成。
動作確認
それでは、表示を確認してみましょ〜


GridView.custom
概要
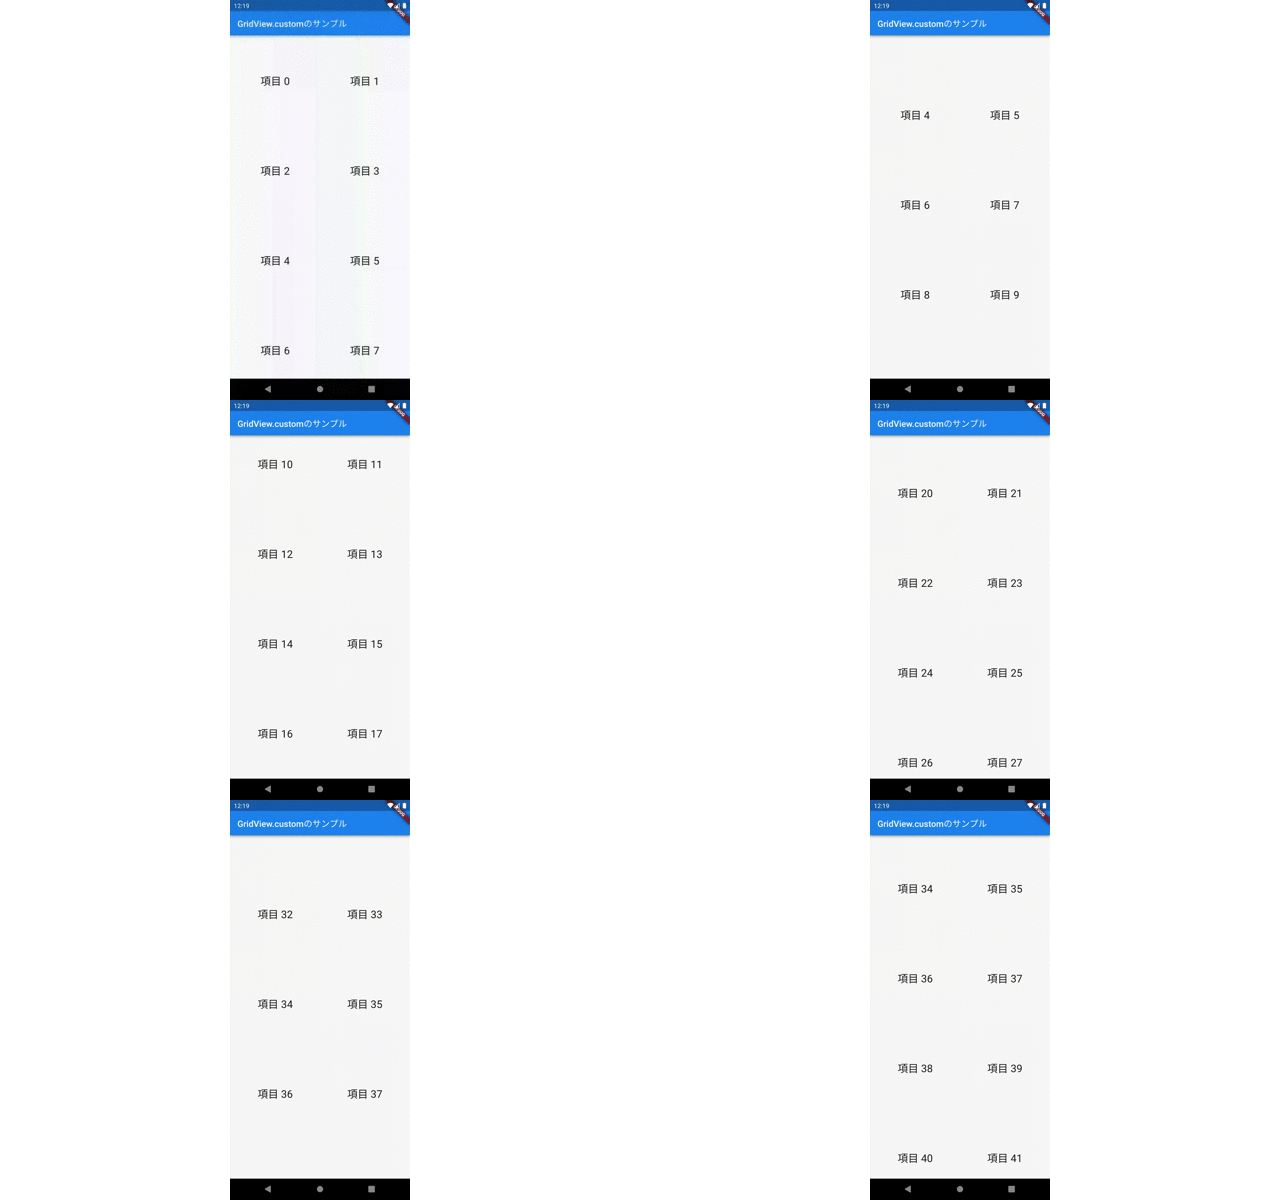
GridView.customコンストラクタは、最も柔軟性があり、カスタムSliverGridDelegateとカスタムchildrenDelegateを使用してグリッドを構築します。
サンプルコード
import 'package:flutter/material.dart';

void main() {
  runApp(MyApp());
}

class MyApp extends StatelessWidget {
  @override
  Widget build(BuildContext context) {
    return MaterialApp(
      home: Scaffold(
        appBar: AppBar(
          title: Text('GridView.customのサンプル'),
        ),
        body: GridView.custom(
          gridDelegate: SliverGridDelegateWithFixedCrossAxisCount(
            crossAxisCount: 2, // 1行に表示するアイテムの数
          ),
          childrenDelegate: SliverChildBuilderDelegate(
            (BuildContext context, int index) {
              return Center(
                child: Text(
                  '項目 $index',
                  style: Theme.of(context).textTheme.headline5,
                ),
              );
            },
            childCount: 100, // アイテムの総数
          ),
        ),
      ),
    );
  }
}
サンプルコードの解説
- 4行目: アプリケーションの起点。
- 10行目: マテリアルデザインのアプリケーションを作成。
- 12-30行目: タイトルバーとGridView.customを含むUIを定義。
- 17行目:
SliverGridDelegateWithFixedCrossAxisCountで1行あたりのアイテム数を指定。 - 19-29行目:
SliverChildBuilderDelegateを使用して、必要に応じてテキストウィジェットを動的に生成し、アイテムの総数を指定。
動作確認
それでは、表示を確認してみましょ〜


まとめ
いかがでしたでしょうか?今回は、GridViewについて、サンプルコードを用いて解説してみました。読者様の開発の手助けに少しでもなればいいなと思いこの記事を書かせていただいております。弊社ではAndroid、iOS、Flutterを使ったアプリ開発についてのブログを多数投稿させていただいておりますので、ご興味のある方はぜひ!
自分の成長を加速させるチャンスがどこかにあるかもしれません。
変化を恐れずに新たな環境に飛び込む勇気のある方は、
未経験からIT・Webエンジニアを目指すなら【ユニゾンキャリア】![]()
![]()


コメント