
こんにちは!株式会社メモリアインクのふくしまです!
この記事では、Swift 5.9 および Xcode 15 を使用して、アプリの初期画面(起動画面)を変更する方法について、詳しく解説します。
この記事を読んで分かること…
・Info.plist で初期画面の設定をする方法
・コードベースでの初期画面の設定方法
Info.plist で初期画面の設定
概要
Info.plistは、アプリの設定情報を含むファイルで、初期画面の設定もここで行います。初期画面をカスタマイズするには、このファイル内の特定のキーを編集します。
手順
Step1:UIの作成
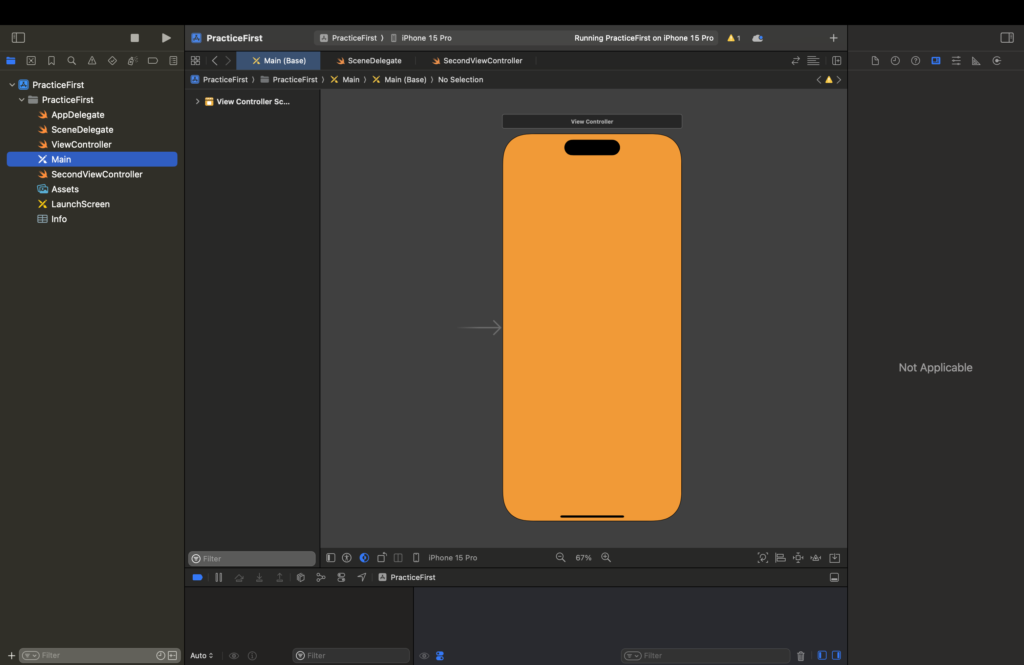
①分かりやすいように遷移元の背景に色をつけておきます(現時点ではこの画面が初期表示されます)
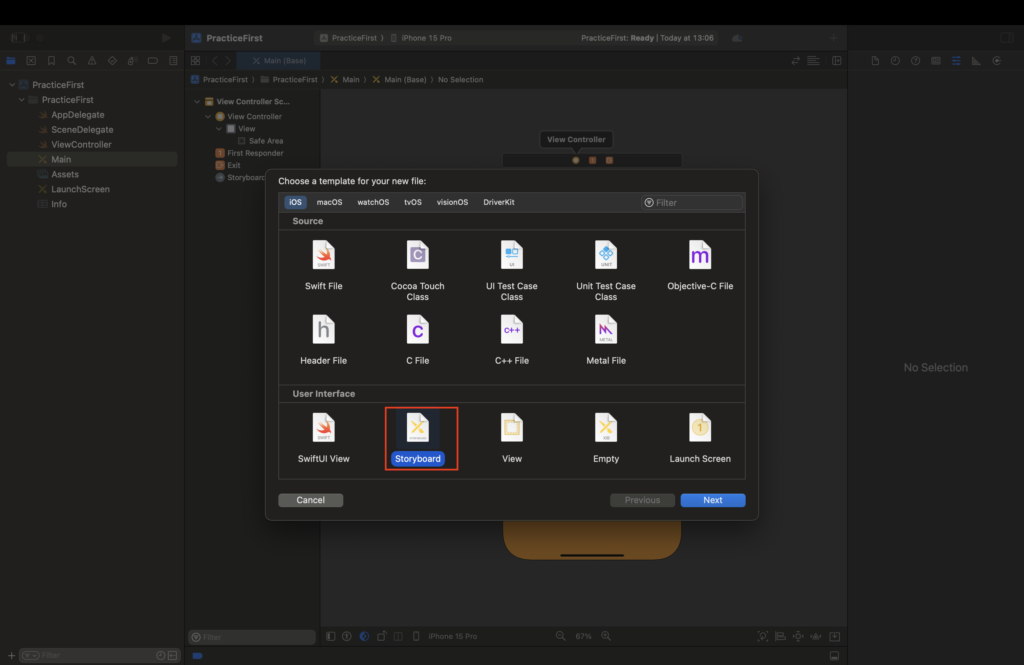
②File→New→Fileから「Storyboard」を選択(FirstStoryboardを作成)
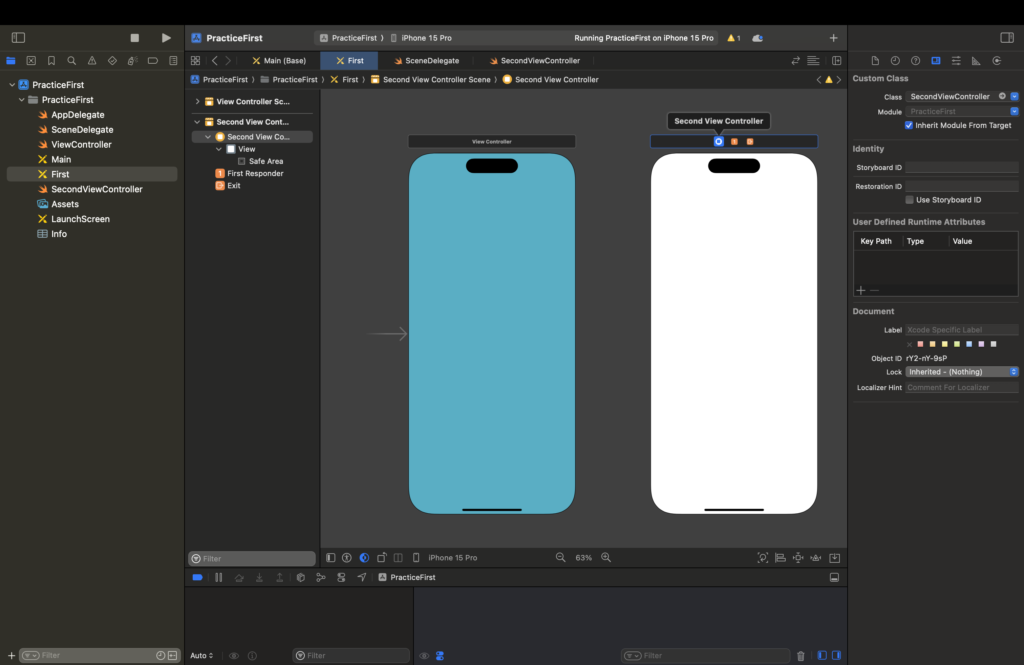
③作ったStoryboard内のViewController(初期画面変更後に表示される画面)の背景も変更しておきます
ここで、後述する「コードベースでの初期画面の設定方法」の画面も作成し、対応するViewControllerに紐づけておきましょう(SecondViewController)
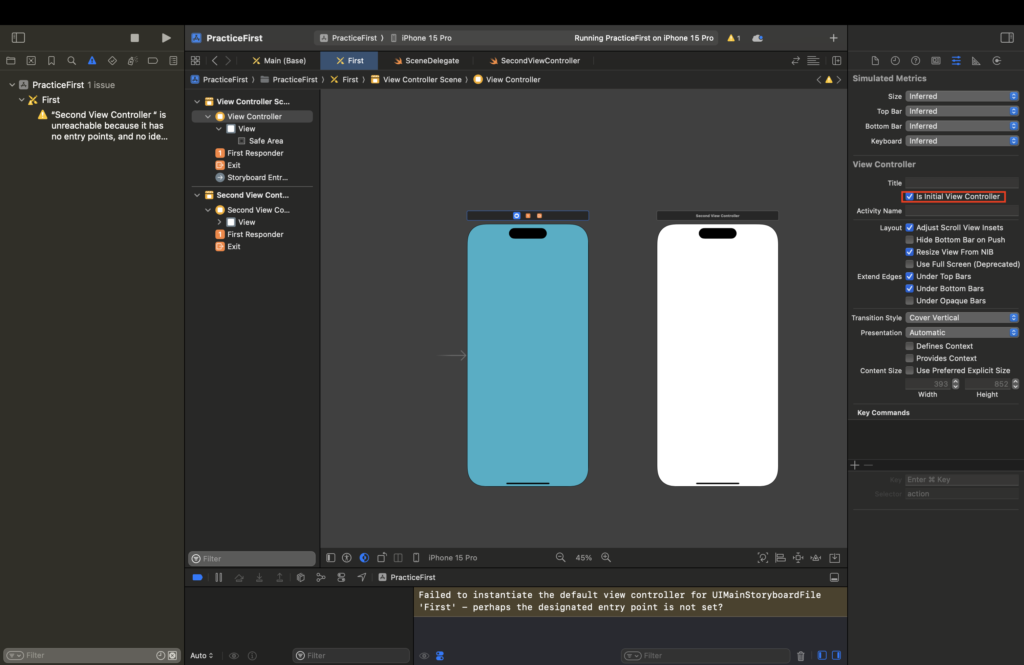
④初回画面変更対象のViewControllerを選択して、「is Initial View Controller 」にチェックを入れておきましょう
画面の作成方法やViewControllerへの紐付け方がよくわからない方は以下の記事で解説していますので、併せてご確認ください!
Step2:Info.plist
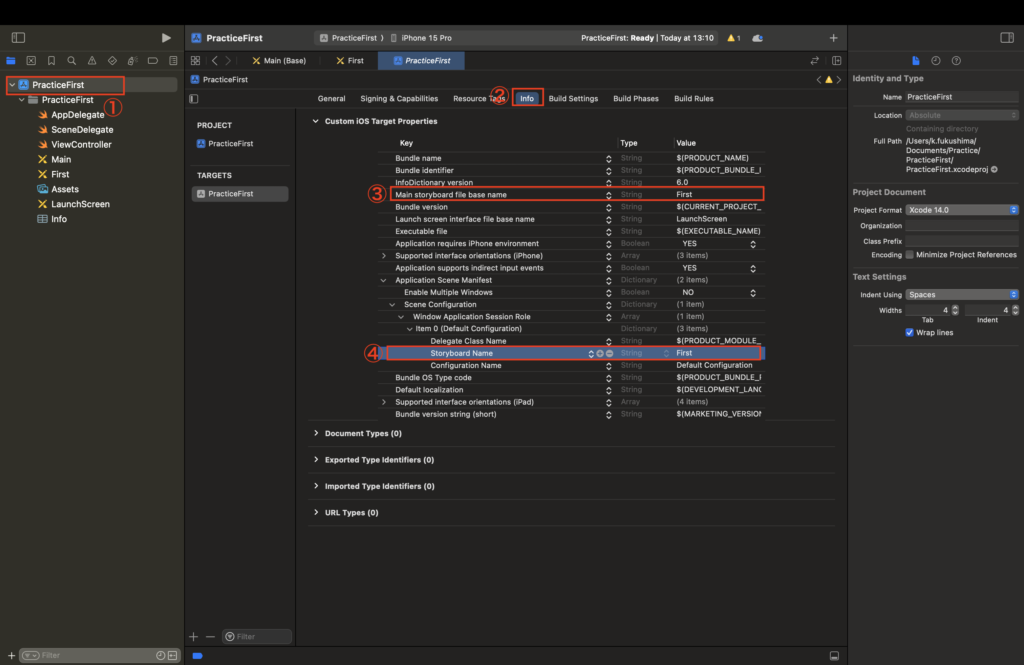
①本プロジェクトのディレクトリを選択
②infoタブを選択
③Custom iOS Target Propaties>Main storyboard file base nameを初期画面に設定したいStoryboard名(今回はFirst)に設定
④同じくCustom iOS Target Propaties>Application Scene Manifest>Scene Configuration>Storyboard Nameを初期画面に設定したいStoryboard名(今回はFirst)に設定
これで、初期画面の設定は完了です!
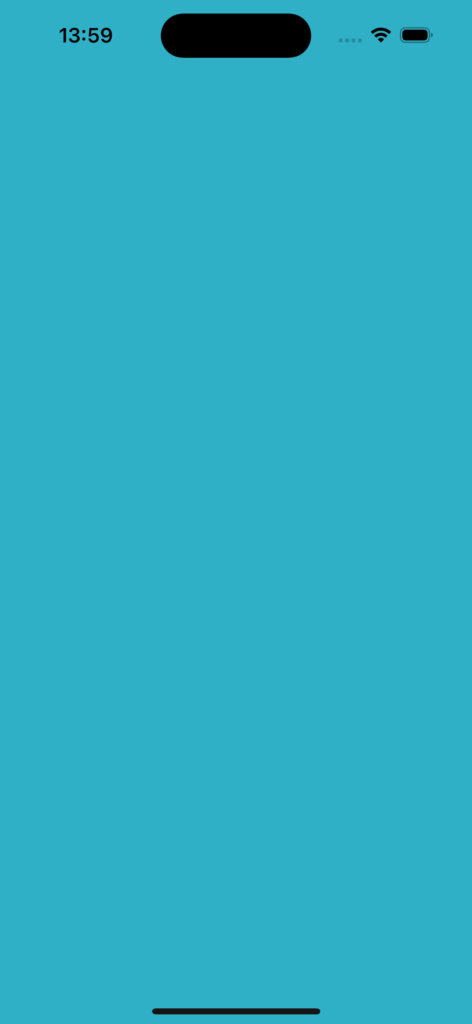
表示確認
それではビルドして表示確認してみましょう〜
初期画面が変わっているはずです
コードベースでの初期画面の設定方法
概要
すべてのUI要素をコードで制御したい場合は、AppDelegateまたはSceneDelegate内で初期画面を設定することができます。これにより、プログラムによる細かい制御が可能になります。
今回は、SceneDelegateを使った方法を紹介します。
サンプルコード
import UIKit

class SceneDelegate: UIResponder, UIWindowSceneDelegate {

    var window: UIWindow?

    func scene(_ scene: UIScene, willConnectTo session: UISceneSession, options connectionOptions: UIScene.ConnectionOptions) {
        // このシーンの新しいウィンドウを使用する
        guard let windowScene = (scene as? UIWindowScene) else { return }

        // ウィンドウの初期化と設定
        window = UIWindow(windowScene: windowScene)
        window?.rootViewController = SecondViewController() // ここで初期表示するViewControllerを指定
        window?.makeKeyAndVisible()
    }
// その他のSceneDelegateメソッドはここに...

}

class SecondViewController: UIViewController {
    override func viewDidLoad() {
        super.viewDidLoad()
        view.backgroundColor = .systemYellow // ビューの背景色をシステムイエローに設定
   }
}
サンプルコードの説明
◾️行 12: 新しいウィンドウを作成し、そのwindowSceneを設定します。
◾️行 13: 作成したウィンドウのrootViewControllerをSecondViewControllerに設定します。これにより、アプリが起動したときにSecondViewControllerのビューが最初に表示されます。
◾️行 14: ウィンドウをキーウィンドウとして表示し、ユーザーに見えるようにします。
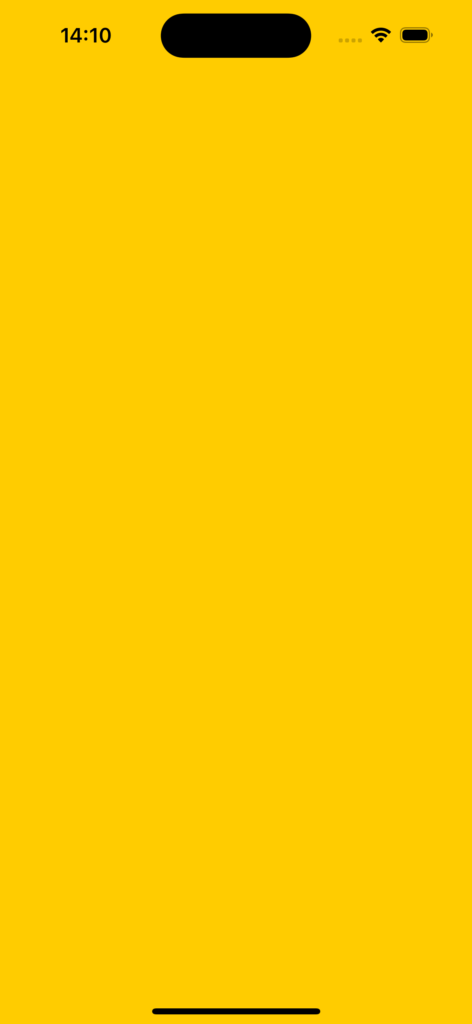
◾️行 23: SecondViewControllerクラス内で、ビューの背景色をシステムイエローに設定しています。これにより、SecondViewControllerのビューが表示されると、背景がイエローになります。
表示確認
それではビルドして表示確認してみましょう〜
まとめ
いかがでしたか?
この記事を通して、初期画面を変更する方法について、info.plistを活用して変更する方法とコードベースで変更する方法について詳しく解説しました。
この記事が皆様のお役に立てれば光栄です!
この記事があなたのスキルアップに役立ったなら、次のキャリアステップを踏み出す絶好の機会かもしれません。エンジニアとしてのさらなる成長と挑戦を求めるなら、
未経験からIT・Webエンジニアを目指すなら【ユニゾンキャリア】![]() をオススメします!
をオススメします!


コメント